
5 Tips To Make Life Easier in Photoshop
/Sometimes it’s those little tweaks and unknown settings that can make the biggest difference in how we interact with Photoshop on a daily basis. Here’s a quick look at 5 tips that you may not know about that can make your life easier in Photoshop.

Tip #5: Change Your Text Preview Size
Make it easy to choose the best font for your project by making it easy to see the preview sample. Choose Type > Font Preview Size and select from several options, including my personal favorite, HUGE. 🤣

Tip #4: Make Math Easy, Change Your Ruler to “Percent”
Need to divide your image into thirds? Make it easy on yourself and change your ruler measurements to display in “Percent.” Press Cmd/Ctrl + R to make the rulers visible, then right/control + click and select Percent from the list of options.
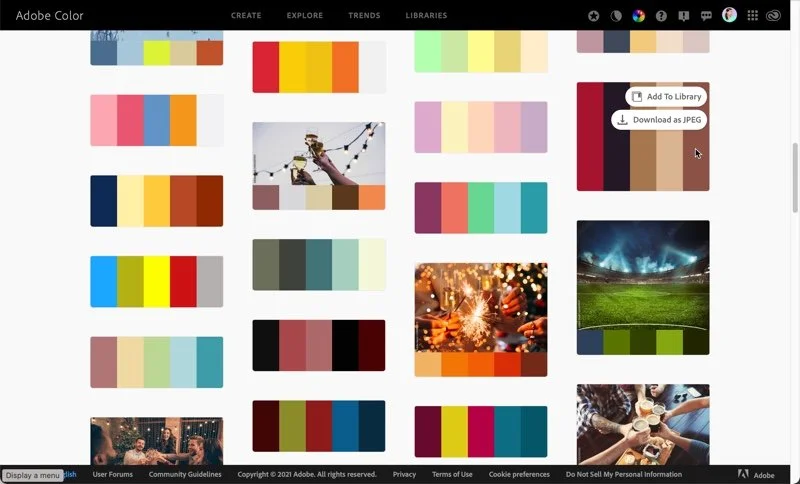
Tip #3: Take Advantage of Built-In, Crowd Sourced Color Themes
If you’re looking for some color inspiration, it’s as easy as pointing your browser to color.adobe.com. Use the Create tab to mix up your own color magic or choose Explore and enter a search term to draw from crowd sourced themes tagged to match.

Tip #2: Make the Info Bar Work for You
Keep an eye on your image size with a quick glance using the Info Bar that appears in the bottom/left corner of your image. By default it displays the file size, which doesn’t provide any specific information. Click the arrow on the right to choose from other options, the most useful of which (in my experience) is Document Dimensions. Now you’ll see the actual dimensions and resolution of the image displayed in the same measurements to match your current ruler setting. To change from one measurement to another (like pixels to inches, for example), just bring up your rulers and change to the desired metric. (See Tip #4.)
Note: If you struggle understanding image size in general (especially when paired with cropping), this feature is particularly helpful.

Tip #1: Create a Layer from Existing Layer Effects
Did you know you can separate layer effects from the layer they’re applied to? It’s an obscure feature, but wow is it handy at times. In the example shown in the video above, I use this feature to create a cast shadow in a mockup scene by starting with a simple drop shadow effect, then separating the drop shadow from the layer itself, allowing me to distort and manipulate it, transforming it into a cast shadow—without having to start from scratch. Just right/Ctrl + click the existing effect in the Layers panel and select Create Layer.
There you have it, five tips to make your Photoshop life easier. But of course, this is not an all-encompassing list. I’ve got more to share, so stick around and don’t miss the next installment!
In the meantime, do you have a favorite tip? Or something you wish were a feature? Let me know in the comments below.


